Raspberry Pi Pico W Getting Started Tutorial
Raspberry Pi Pico W Getting Started Tutorial With MicroPython
Overview
In this Tutorial, We Learn All About the Raspberry Pi Pico W Microcontroller. In this Board, Raspberry Pi Funduction Used The RP2040 Microcontroller.
Raspberry Pi Pico W is a low-cost Arm Microcontroller, We easily program the Board Using C/C++ And MicroPython.
Many microcontrollers in the Market board are Available, Like Arduino, Esp8266, Esp32, PIC, STM32, LPC2148 and Other AVR Microcontrollers.
The Raspberry Pi Computer is High cost Around 6000-15000 Rupes In India. That’s why the Raspberry Pi Function released their low cost assertive competitive Raspberry Pi Pico And Raspberry Pi Pico W With RP2040-based Dual core Arm Cortex-M0+ Microcontroller.
Why RP2040 Microcontroller
In Earlier All The Raspberry Boards like Rpi Zero, Raspberry Pi 3, Raspberry Pi 3+ And Raspberry Pi 4 featured Broadcom Process Like BCM2835, BCM2836, BCM2711 Etc.
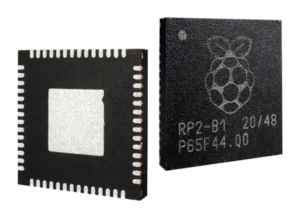
The RP2040 Chip Was Announced on 21st January 2021 And the Fist Processer was Designed By the Raspberry Pi Foundation.
The RP2040 is a 32-bit dual ARM Cortex-M0+ microcontroller. The Processor is a low-cost microcontroller And Costs Around 700Rupes. The chip is 40nm silicon in a 7×7 mm QFN-56 Package.RP2040 Contains 2 ARM Cortex-M0+ Cores Clocked at 133 MHz together with 264 KB of RAM. Program memory is external and supports up to 16 MB.
Full Form Of (RP2040)
- RP means: Raspberry Pi
- Number 2 means: Processor Cores as it is a Dual-Core Microcontroller.
- Number 0 means the type of Processor Core as it is ARM Cortex-M0+.
- Number 4 means: Represents On-chip RAM. RP2040 has 264 KB of RAM.
- Number 0 means: Represents On-chip Flash. As there is no on-chip flash.
Features
- 30 GPIO pins
- 133MHz Dual ARM Cortex-M0+ Cores
- 264kB SRAM
- Support for up to 16MB of off-chip Flash memory.
- DMA controller
- On-chip Programmable LDO(Low-dropout_regulator) To Generate Core Voltage
- 2 on-chip PLLs
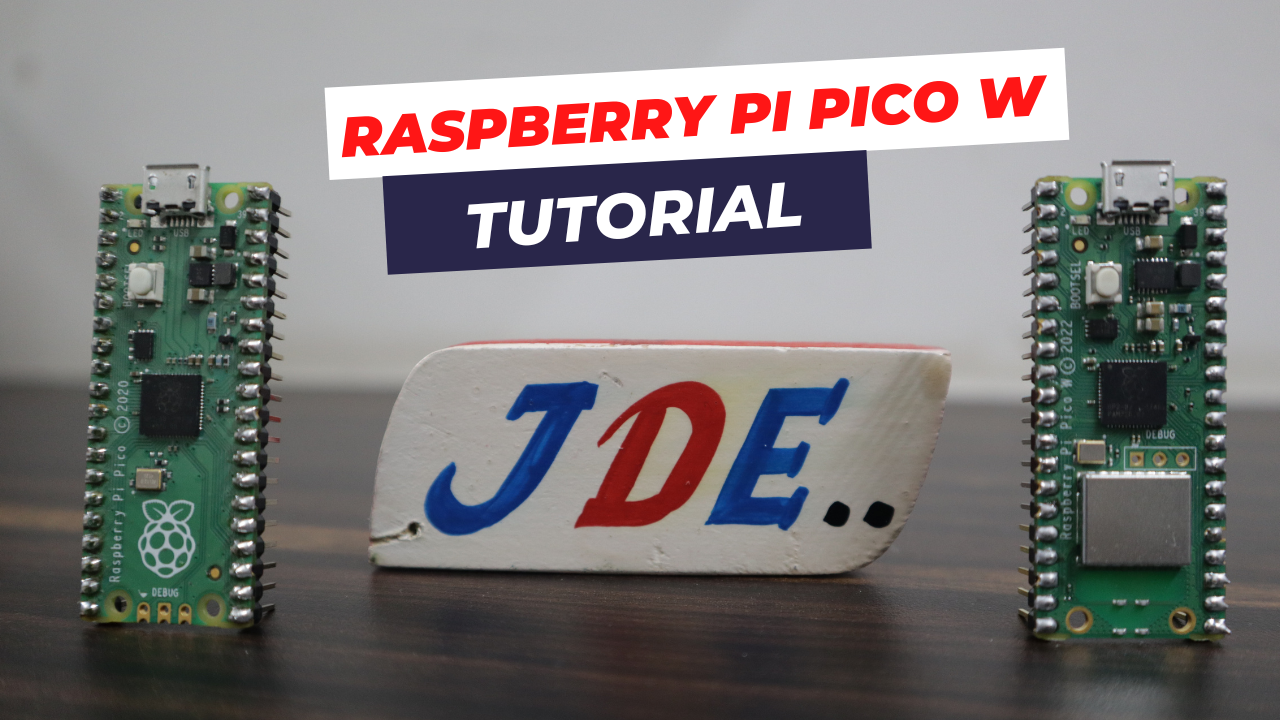
Raspberry Pi Pico W
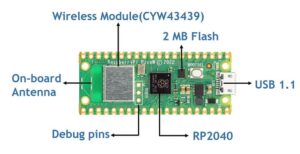
This One is the First microcontroller board based on the RP2040. Is an Inbuilt Wifi Module And Is Also Supported by the 3-Pin Debug Connector is available on the other end of the Board.
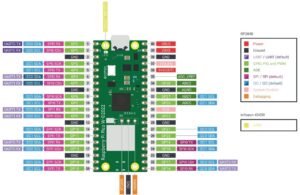
Raspberry Pi Pico W Pinout
Raspberry Pi Pico W Features
In This Board, They Used Rp2040 Microcontroller
- 40 DIP Input / Output Pins
- 12 MHz Crystal Oscillator
- Boot Selection Button
- 2 MB of SPI Flash Memory
- Type B Micro-USB Port For Programming And Power.
- 3-Pin ARM Serial Wire Debug (SWD) Interface
- 3.3V Fixed Output
- In-built Wifi Module
- In Low Power Microcontroller
- Two I2C Peripherals (I2C0 And I2C1)
- Two SPI Peripherals (SPI0 And SPI1)
- Two UART (UART0 And UART1)
How You Program Raspberry Pi Pico W
- The Raspberry Pi Pico W can Be Programmed Using C/C++ or Python. Used Pico W you Create the Soo many Applications.
- The Raspberry Pi Pico W is Supported the Micropython And you Do this Programming Using The Thonny IDE And uPycraft IDE.
- If you Want To Programming The Raspberry Pi Pico W Fist You Install the Thonny IDE Software.
Install Micropython On Raspberry Pi Pico W
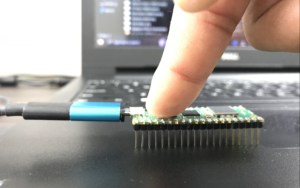
Now You Just Press And Hold The BOOTSEL Button on the Board.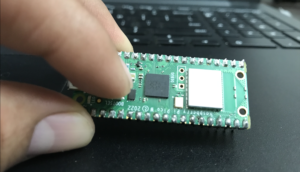
And then you just Connect the USB Cable to Your Computer. You Used the Micro USB cable to Connect to the Pico To Your computer.
If You Interested the reading more Then plz Visit The Raspberry Pi Pico Official Documentation Page From Here:- https://www.raspberrypi.com/documentation/microcontrollers/
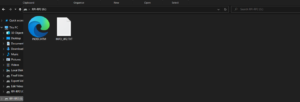
Once The RP1-RP2 Driver You See in the Your Computer file.
You Just Directly Visit the Website https://www.raspberrypi.com/documentation/microcontrollers/micropython.html
And Download The Correct MicroPython UF2 file
Let’s Start Raspberry Pi Pico W Using MicroPython on Thonny IDE.
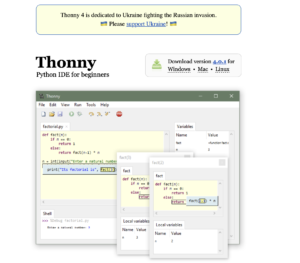
Now We Just Install The Thonny IDE To Our Laptop.
Just Click The Link And You Download The Thonny Software In Your Laptop requirement
Like Windows, MAC And Linux.
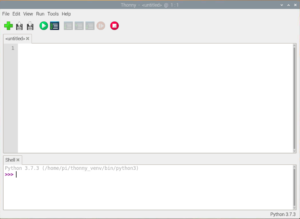
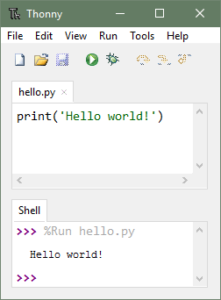
When you Download The Thonny Ide Software Then you See The Windows Like This
Connect the Raspberry Pi Pico W To our computer. Then you Just Go To Tools> options and Click On The Interpreter Tab.
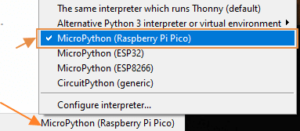
You Just Select the MicroPython (Raspberry Pi Pico W). Board And then Port Will Show in the Dropdown Menu and select The Raspberry Pi Pico W Board.
OK Now Just click The Right Side In Button The All board shows you Just Select The Board And then Write The Code
After You Doo All The Things And Successfully Installation Raspberry Pi Pico W Board. Then you Just Write The “Hello World” Code And check All Connections.
Tutorial 1
Push Button Interfacing With Raspberry Pi Pico W
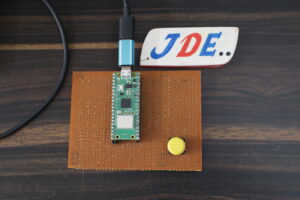
The Push button Is connected To Pin Number 16
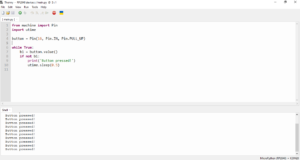
When you Press The Push Button The Laptop Screen Will Display the “Button pressed” message.
