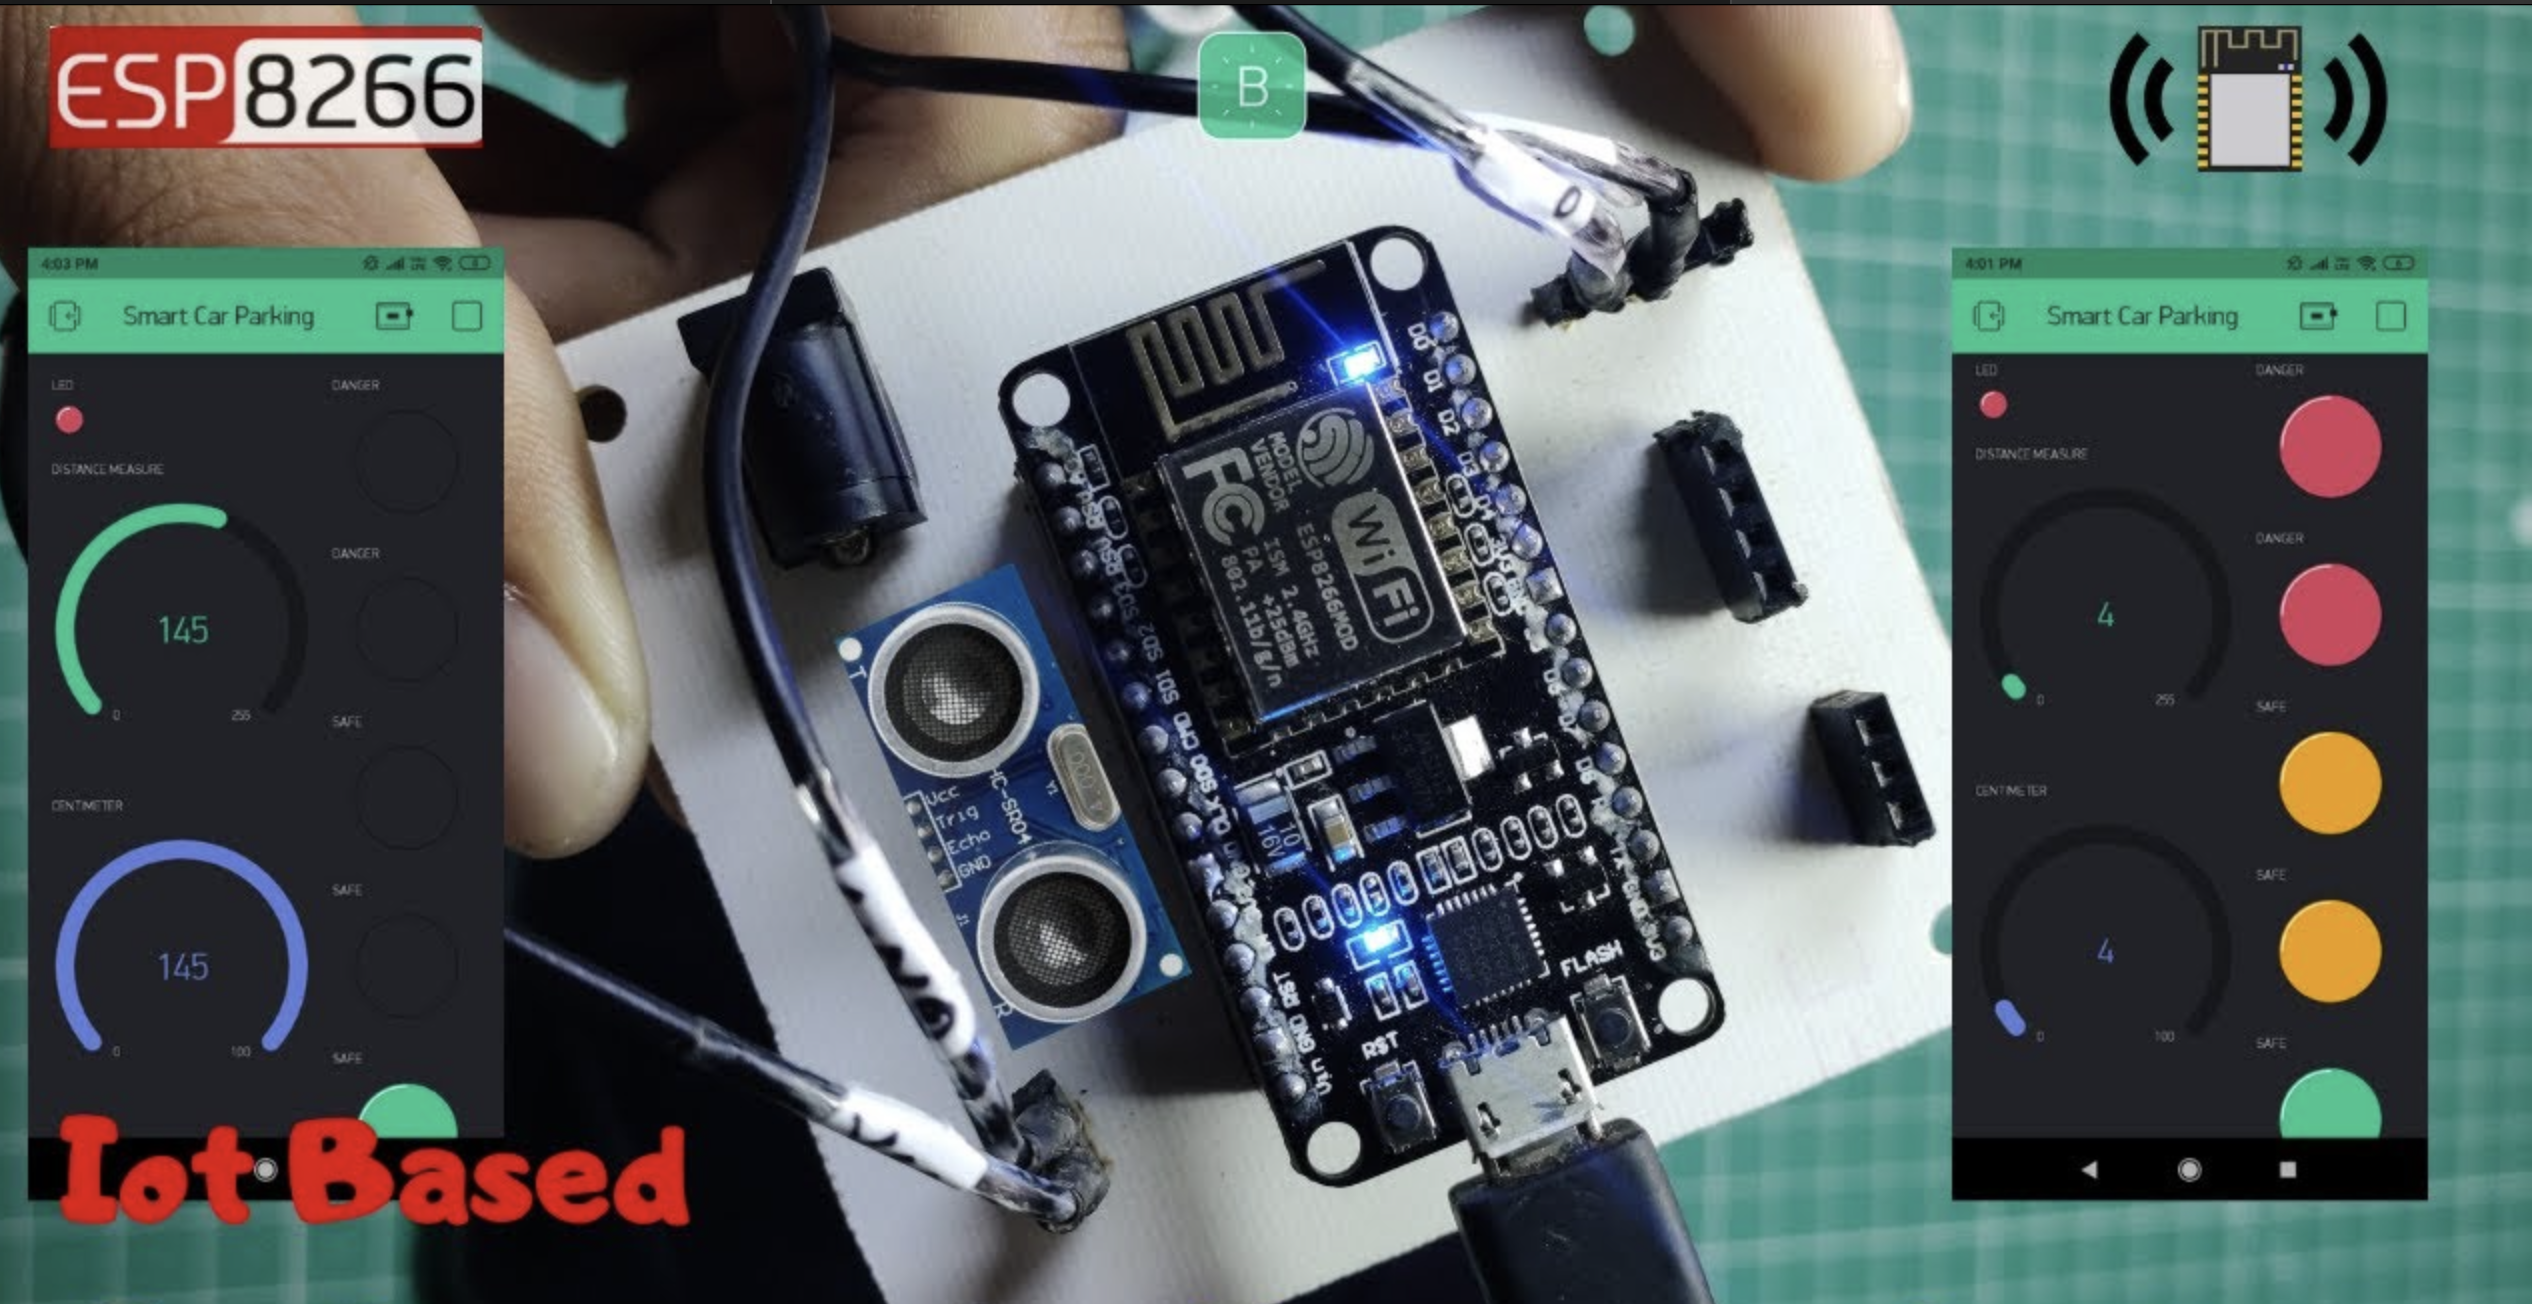
IoT Based Vehicle Parking With ESP8266
Introduction
In this tutorial, we are Going to make an intelligent car parking Assitance System.
Now in daily life, we are using cars every day and it is one of the most important parts of our day-to-day life. Now When you park your car the IoT Vehicle parking system Helps you. this project of making the help of ESP8266 & Blynk App.
This project will help new car drivers .then learn about cars that are not parked well this project they help to know the back side of the distance from any obstacle to your vehicle as per the place of the sensor in a car.
if you are interested in more IoT Projects.
Bill Of Materials
S.N | Component | Quantity | Link To Buy |
1 | NodeMCU (Esp8266) | 1 | |
2 | Ultersonic Sensor | 1 | |
3 | Buzzer | 1 | |
4 | Red Led | 1 | |
5 | Green Led | 1 | |
6 | Zero PCb | 1 |
Component’s
These are all components we need to Build This Project
ESP8266
Ultrasonic Sensor
- Ultrasonic sensor finds out the distance & it provides stable & Accurate distance measurement from 2Cm to 450Cm. it has a focus of less than 15 degrees and an accuracy of about 2mm.
- The ultrasonic Sensor sound has such a high pitch that humans can’t hear it. the ultrasonic sound frequency of about 40Khz.
- the sensor has two main parts. A transducer creates an ultrasonic sound and another that listen for its echo. to that sound this sensor measures Distance.
Led’s
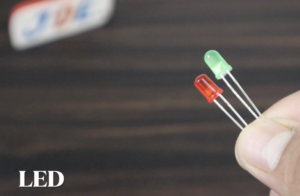
The red and green LEDs are for use with a variety of projects. They have a crystal clear lens that is 5mm in diameter.
- Forward voltage: 3.2-3.6V
- Maximum forward current: 25mA
- Brightness: 20000 MCD
Buzzer
This Passive Buzzer provides an easy way to add simple audio output to your Project. While you can’t expect this tiny little speaker to produce orchestra-quality of sound, it works just fine for simple beeps and boops.
- The Operating Voltage is 5V.
- The total terminal is 2
Setting Blynk App
First, you have to set up a project in the Blynk app on your web dashboard And Smart Phone. after setting the app you receive an auth token which has to be provided in the code.
You can Download the Blynk app from Below the Links.
- Web Dashboard
- Android App
- iOS
Open Blynk App, register with an email ID and then log in. after login in, we will create a project. Enter the all details as shown Below
After Creating the template you received the Auth token on the Dashboard.
Circuit Diagram
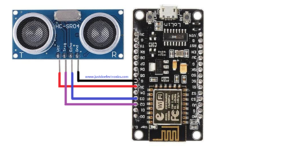
Here all the red and black wires are VCC and GND connections. we are using the ultrasonic sensor and they will be connected to the
ESP8266 / NodeMCU | Ultersonic Sensor |
3.3v/5v | VCC |
GND | GND |
D2 | ECHO |
D3 | Trigger |
And Buzzer will be connected to D0 and Red will be connected to Pin Number D1, Green Led will be connected to Pin Number D4.
Source Code
This Code is valid for the New Blynk app fist you need to change three things Blynk token Number, Wifi SSID and Wifi Password then you upload the code.
|
1 2 3 |
char auth[] = "xxxxxxxxxxxxxxxxxxxxxx"; char ssid[] = "xxxxxxxxx"; char pass[] = "xxxxxxxxx"; |
|
1 2 3 4 5 6 7 8 9 10 11 12 13 14 15 16 17 18 19 20 21 22 23 24 25 26 27 28 29 30 31 32 33 34 35 36 37 38 39 40 41 42 43 44 45 46 47 48 49 50 51 52 53 54 55 56 57 58 59 60 61 62 63 64 65 66 67 68 69 70 71 72 73 74 75 76 77 78 79 80 81 82 83 |
/* ******************************************** //Prateek //wwww.justdoelectronics.com //https://www.youtube.com/c/JustDoElectronics/videos ******************************************** */ #define TRIGGER D2 #define ECHO D3 #define BLYNK_PRINT Serial #include <ESP8266WiFi.h> #include <BlynkSimpleEsp8266.h> char auth[] = "BeGg-T745coWgyrlFLBfx5jxwQf9lpqj"; char ssid[] = "xxxxxxxxx"; char pass[] = "xxxxxxxxx"; void setup() { Serial.begin(9600); Blynk.begin(auth, ssid, pass, "blynk.cloud", 80); pinMode(TRIGGER, OUTPUT); pinMode(ECHO, INPUT); pinMode(BUILTIN_LED, OUTPUT); } void loop() { long duration, distance; digitalWrite(TRIGGER, LOW); delayMicroseconds(2); digitalWrite(TRIGGER, HIGH); delayMicroseconds(10); digitalWrite(TRIGGER, LOW); duration = pulseIn(ECHO, HIGH); distance = (duration / 2) / 29.1; if (distance <= 200) { Blynk.virtualWrite(V0, 255); } else { Blynk.virtualWrite(V0, 0); } if (distance <= 35) { Blynk.virtualWrite(V1, 255); } else { Blynk.virtualWrite(V1, 0); } if (distance <= 30) { Blynk.virtualWrite(V2, 255); } else { Blynk.virtualWrite(V2, 0); } if (distance <= 25) { Blynk.virtualWrite(V3, 255); } else { Blynk.virtualWrite(V3, 0); } if (distance <= 20) { Blynk.virtualWrite(V4, 255); } else { Blynk.virtualWrite(V4, 0); } Serial.print(distance); Serial.println("Centimeter:"); Blynk.virtualWrite(V5, distance); delay(200); Blynk.run(); Serial.print(distance); Serial.println("Centimeter:"); Blynk.virtualWrite(V6, distance); delay(100); Blynk.run(); } |
Demo of Projects
We have connected the sensor with Nodemcu as per the circuit diagram. now the code is uploaded and powered on.
if you open the Blynk app, now you can see the range along with LEDs lilting up.
this concludes the project will be ready to monitor the back or front of your car. also, you can power this project using the power bank or USB through.
you also check your mobile hotspots to connect with Blynk and get the data.


