DS18B20 Sensor Arduino Tutorial
Overview
In This Tutorial, I will show how you interface the DS18B20 Sensor With Arduino Nano Microcontroller And How You Write the Code.
DS18B20 Is a 1 Wire Digital Temperature sensor It Gives up to 12 bits of precision from the onboard digital to Analog converter.is work great with any microcontroller using a single digital pin If you Want to connect Multiple ones to the same Pin, Each one has a unique 64-bit ID Burned in At the factory to differentiate them.
DS18B20 Sensor
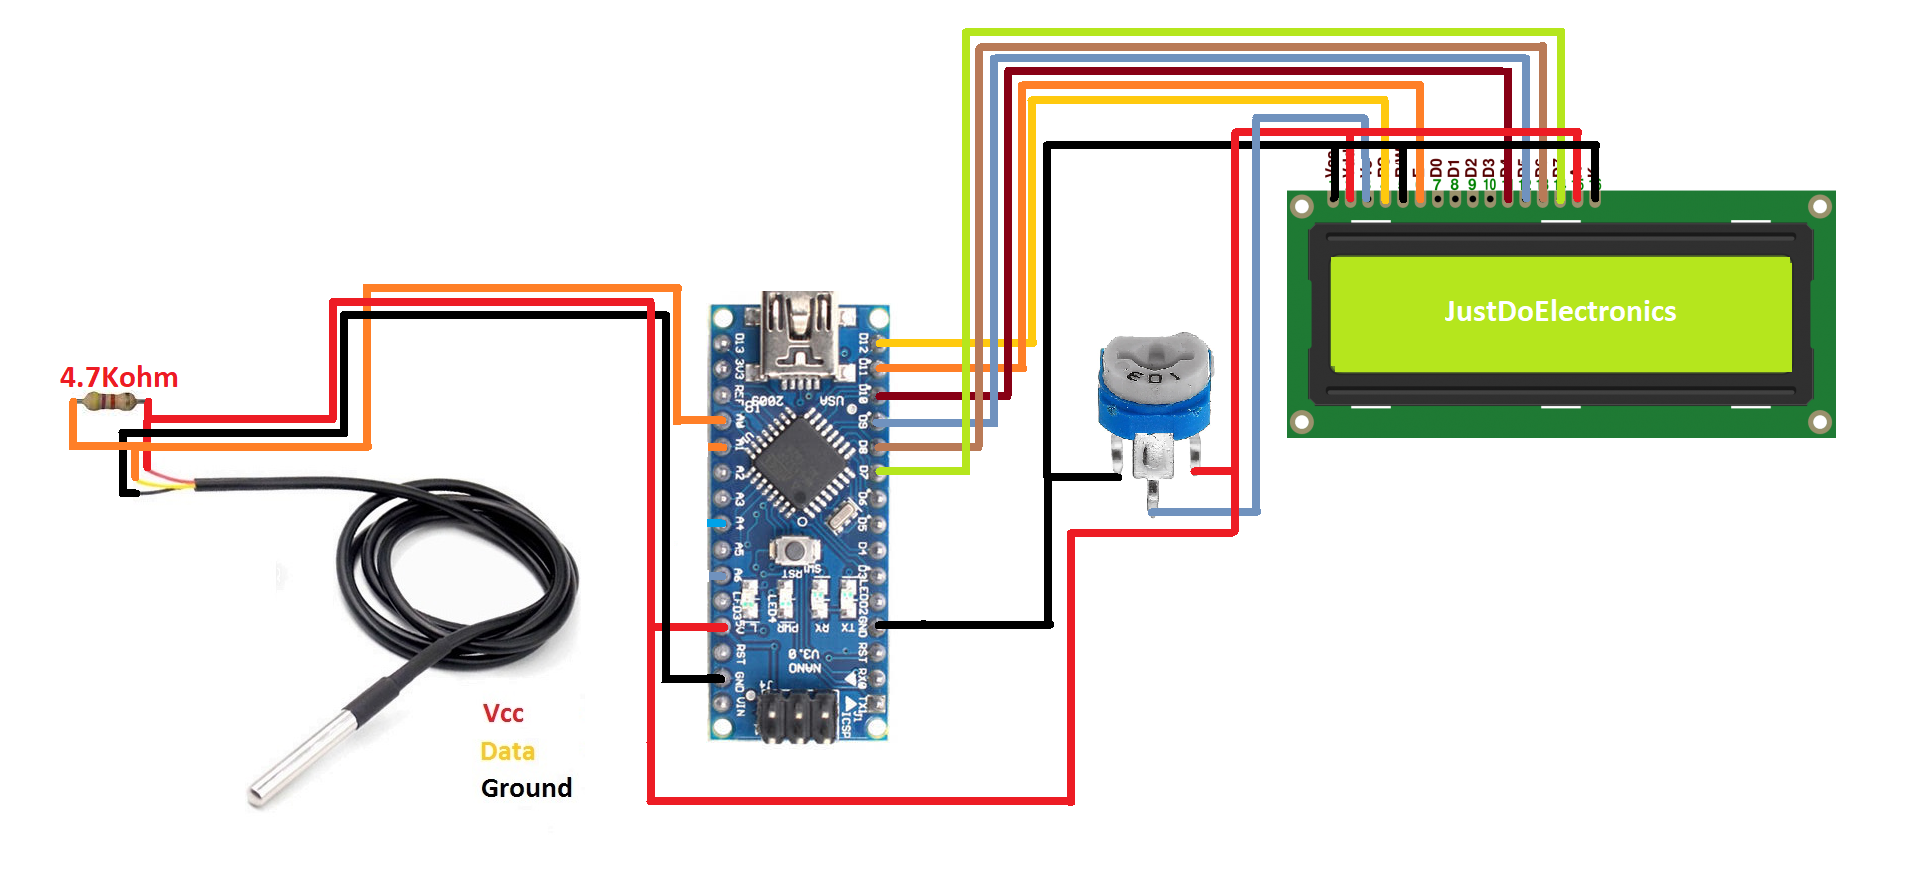
DS18B20 Sensor Is Dallas 1-wire Protocol. when using with a microcontroller put a 4.7k resistor to the sensing Pin, Which is required as a pullup form then DATA to VCC Line.
Speculation:-
- Stainless Stel Tube 6mm Diameter by 30mm long
- cable is 36″ Long
- contains DS18B20 Temperature Sensor
DS18B20 Sensor Pinout
Three Wire – Red Connects – 3-5V
Black Connects – GND
White Connects – DATA Pin
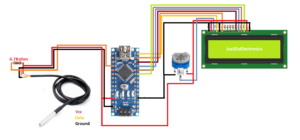
Wiring Diagram DS18B20 Sensor With Arduino
Installing Library For DS18B20
Just Download The libraries
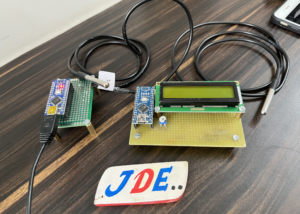
Testing Of DS18B20 Sensor
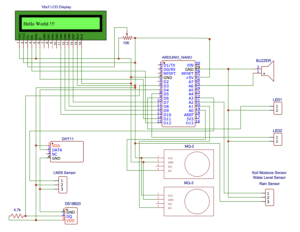
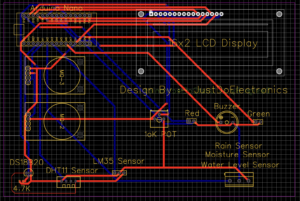
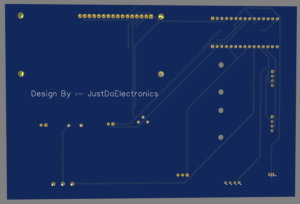
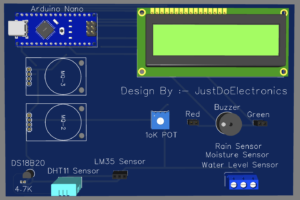
PCB Design
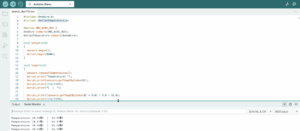
Display DS18B20 Sensor Reading In Serial Monitor
Code
|
1 2 3 4 5 6 7 8 9 10 11 12 13 14 15 16 17 18 19 20 21 22 23 24 25 26 27 |
#include <OneWire.h> #include <DallasTemperature.h> #define ONE_WIRE_BUS 2 OneWire oneWire(ONE_WIRE_BUS); DallasTemperature sensors(&oneWire); void setup(void) { sensors.begin(); Serial.begin(9600); } void loop(void) { sensors.requestTemperatures(); Serial.print("Temperature: "); Serial.print(sensors.getTempCByIndex(0)); Serial.print((char)176); Serial.print("C | "); Serial.print((sensors.getTempCByIndex(0) * 9.0) / 5.0 + 32.0); Serial.print((char)176); Serial.println("F"); delay(500); } |
Display DS18B20 Sensor Reading In LCD Display
Code
|
1 2 3 4 5 6 7 8 9 10 11 12 13 14 15 16 17 18 19 20 21 22 23 24 25 26 27 28 29 30 31 32 33 34 35 36 37 38 39 40 41 42 43 44 45 46 47 48 49 50 51 52 53 54 55 56 57 58 59 60 61 62 63 64 65 66 67 68 69 70 71 72 73 74 75 76 77 78 79 80 81 82 83 |
#include <OneWire.h> #include <Wire.h> #include <LiquidCrystal.h> LiquidCrystal lcd(12,11,10,9,8,7); OneWire ds(2); void setup() { lcd.begin(16, 2); lcd.clear(); lcd.print("Temperature....."); delay(3000); lcd.clear(); lcd.print("Starting....."); delay(3000); } void loop() { byte i; byte present = 0; byte type_s; byte data[12]; byte addr[8]; float celsius, fahrenheit; if ( !ds.search(addr)) { ds.reset_search(); delay(250); return; } for ( i = 0; i < 8; i++) { } if (OneWire::crc8(addr, 7) != addr[7]) { return; } switch (addr[0]) { case 0x10: type_s = 1; break; case 0x28: type_s = 0; break; case 0x22: type_s = 0; break; default: return; } ds.reset(); ds.select(addr); ds.write(0x44, 1); delay(1000); present = ds.reset(); ds.select(addr); ds.write(0xBE); for ( i = 0; i < 9; i++) { data[i] = ds.read(); } int16_t raw = (data[1] << 8) | data[0]; if (type_s) { raw = raw << 3; if (data[7] == 0x10) { raw = (raw & 0xFFF0) + 12 - data[6]; } } else { byte cfg = (data[4] & 0x60); if (cfg == 0x00) raw = raw & ~7; else if (cfg == 0x20) raw = raw & ~3; else if (cfg == 0x40) raw = raw & ~1; } celsius = (float)raw / 16.0; fahrenheit = celsius * 1.8 + 32.0; lcd.clear(); delay(500); lcd.setCursor(0, 0); lcd.print(" Tempature :- "); lcd.setCursor(0, 1); lcd.print(celsius); lcd.print(" C"); lcd.setCursor(9, 1); lcd.print(fahrenheit); lcd.print(" F"); delay(10000); } |
If You are Interested In More Projects Then Plz Check Out
- Vehicle Accident Alert System
- DIY Ventilator Using Arduino
- Arduino Based Blind Stick With GPS And GSM
- Dam Monitoring System Using Arduino

