Arduino ultrasonic sensor Relay
Introduction
In This Tutorial, We Are Going To Learn How You Make Your Own Automatic Light Control with the help of an ultrasonic Sensor.
We are just trying to create a small automated light when you seat in your chair then the light automatic will open and if you do not seat in the chair that’s Time the Light Will be Off.
We just set the ultrasonic Sensor in the range of 50m if you want to change it then you just edit in code and put your requirement.
Bill Of Materials
These are all Components We Used In this Project
S.N | Components | Quantity | Link To Buy |
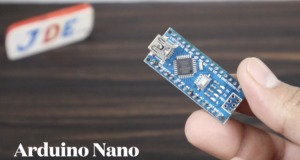
1 | Arduino Nano | 1 | |
2 | Ultersonic Sensor (HC-SR04) | 1 | |
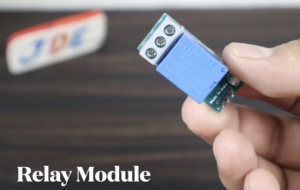
3 | Relay module | 1 | |
4 | Zero PCb | 1 |
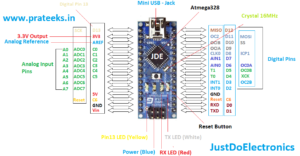
Arduino Nano
Ultrasonic Sensor
Relay Module
Circuit Diagram
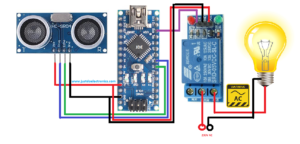
Here We Design A Circuit diagram, In this Circuit diagram We used an Arduino nano Microcontroller And Ultrasonic Sensor (HCSR-04) We Also used A 5v 1 channel Realy Module To Control the Ac(230v) Light.
The Ultrasonic Sensor Will Connected To Pin numbers 5 And 4 and the relay will connect to Pin Number 10.
Ultrasonic Sensor
- VCC – 5v
- TRIG – 5
- ECHO – 4
- GND – GND
Relay Module
- VCC – 5v
- OUT – 10
- GND – GND
PCB Design
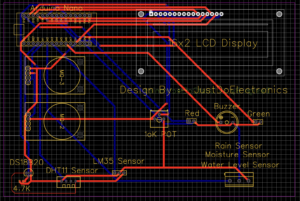
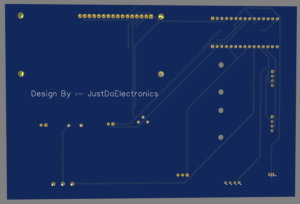
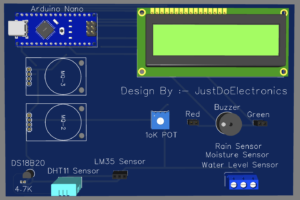
We Just Design A Sample PCB You easily interface the ultrasonic sensor and relay module in this PCB we used multiple sensors.
This PCB Is relay good For Al Beginners.
Source Code
Here We gave the Code You just Select the proper Board In Arduino ide Software And Then Upload It. Also, You Change the Distance in Your requirement.
|
1 |
const int DISTANCE_THRESHOLD = 50; |
|
1 2 3 4 5 6 7 8 9 10 11 12 13 14 15 16 17 18 19 20 21 22 23 24 25 26 27 28 29 30 31 32 33 34 35 36 37 |
//Prateek //wwww.justdoelectronics.com //https://www.youtube.com/c/JustDoElectronics/videos const int TRIG_PIN = 5; const int ECHO_PIN = 4; const int RELAY_PIN = 10; const int DISTANCE_THRESHOLD = 50; float duration_us, distance_cm; void setup() { Serial.begin(9600); pinMode(TRIG_PIN, OUTPUT); pinMode(ECHO_PIN, INPUT); pinMode(RELAY_PIN, OUTPUT); } void loop() { digitalWrite(TRIG_PIN, HIGH); delayMicroseconds(10); digitalWrite(TRIG_PIN, LOW); duration_us = pulseIn(ECHO_PIN, HIGH); distance_cm = 0.017 * duration_us; if (distance_cm < DISTANCE_THRESHOLD) digitalWrite(RELAY_PIN, HIGH); else digitalWrite(RELAY_PIN, LOW); Serial.print("distance: "); Serial.print(distance_cm); Serial.println(" cm"); delay(500); } |
Demo Of Projects
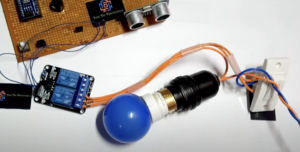
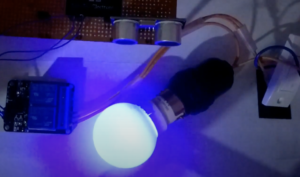
Now I will Just Show The Demo of the Project, See if the Distance Is More then 50cm then the Light Will be OFF.
When the Distance Is Less Than 50cm then the light will be On
Video Tutorial
If You are Interested In More Projects Then Plz Check it
- Vehicle Accident Alert System
- DIY Ventilator Using Arduino
- Arduino Based Blind Stick With GPS And GSM
- Dam Monitoring System Using Arduino
If you Like Do Share Your Feedback on this Arduino Project. Very Thank You For Your Time 😊
