XIAO ESP32S3 CAM Based Surveillance Car
How To Make XIAO ESP32S3 CAM Based Surveillance Robot Car
Introduction
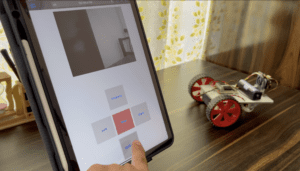
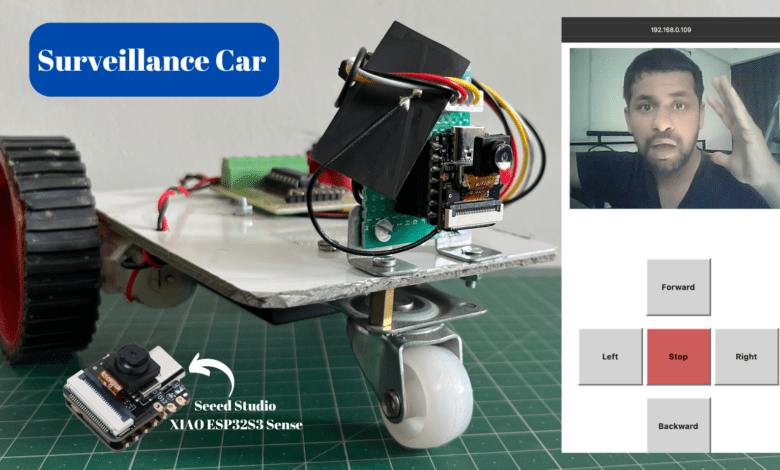
In This Article, We design the Surveillance Robot Car using the XIAO ESP32S3 CAM Module. We control the Robot car on the local web page.
Web-controlled surveillance cars can be built using the XIAO ESP32S3 CAM module. Apart from the XIAO ESP32S3 CAM, we will need 2 DC motors with its Robo car chassis and L293D motor driver module to build this Robocar. ESP32 is one of the popular boards for building IoT-based projects.
When we click the forward button the robot goes forward like it works on the backward, left, and right buttons.
if you don’t know how to program the XIAO ESP32S3 CAM module then plz check the Article.
Bill Of Material
S.N | Component's | Quantity | Link To buy |
1 | XIAO ESP32S3 CAM | 1 | |
2 | USB Cable Type-C | 1 | |
3 | L298D Motor Driver | 1 | |
4 | BO Motor | 2 | |
5 | BO Motor Wheels | 2 |
Component’s Overview
XIAO ESP32S3 CAM
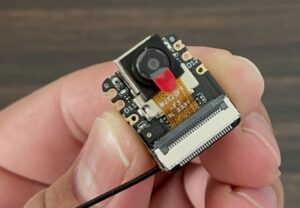
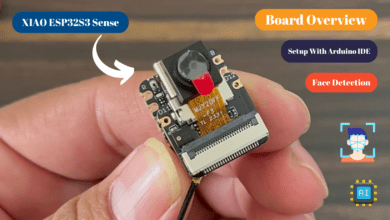
Seeed Studio XIAO ESP32S3 Sense is built around a highly integrated, Xtensa processor ESP32-S3R8 SoC, which supports 2.4GHz WiFi and low-power Bluetooth® BLE 5.0 dual-mode for multiple wireless applications. It has lithium battery charge management capability.
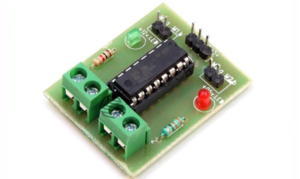
L293D Motor Driver
This motor driver module operates on 4.5v to 12v dc. It has a maximum load current of 600mA per motor. This module is generally used for drive motors which is generally used in DIY projects.
N20 Motor
N20-6V-30 Rpm Micro Metal Gear Motor is a small volume, big torsion, all metal gear, durable, not easy to wear DC motor. Great replacement for the rusty or damaged DC gear speed reducer motor on the machine. Widely used on boats, cars, Electric bicycles, fans, and Home appliances.
Circuit Diagram
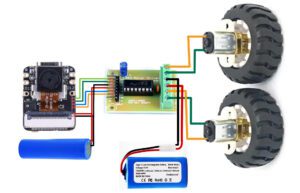
In this circuit diagram, we connect the l293d motor driver with a small esp32 cam module.
- IN1-D6
- IN2-D5
- IN3-D8
- IN4-D10
VCC connects to the 5v And GND is connected to the GND.
Code
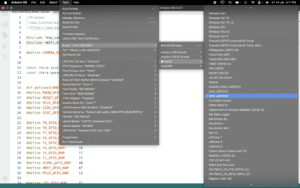
Now we open the Arduino IDE and paste the code just select the proper board and upload the code.
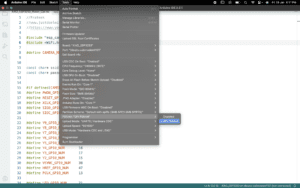
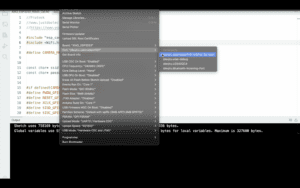
Now we go to Tools > ESP32 Board > XIAO_ESP32S3
Then is necessary to enable PSRAM
Then go to the tools again check the port select the proper port and hit the uploading button.
Here you find the proper code for the projects
Making Overview
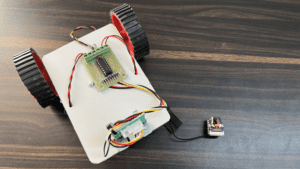
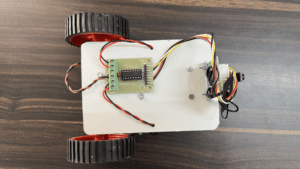
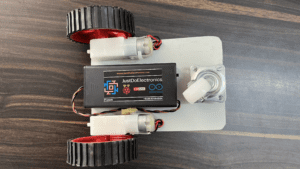
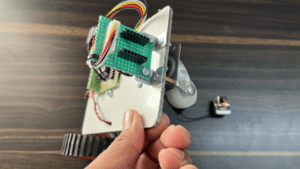
Now we take a small size of White Borad and drill it then attach the BO Motor And Motor Driver.
On the front side, we fixed the camera module and attached it with a jumper wire through.
On the Back side, we attach the battery holder here we use the rechargeable battery.
Now the robot is ready to used with ESP32 Cam module through.
