Temperature and Humidity monitoring with Blynk Cloud
Temperature and Humidity monitoring with Blynk Cloud Using ESP32 Board
Introduction
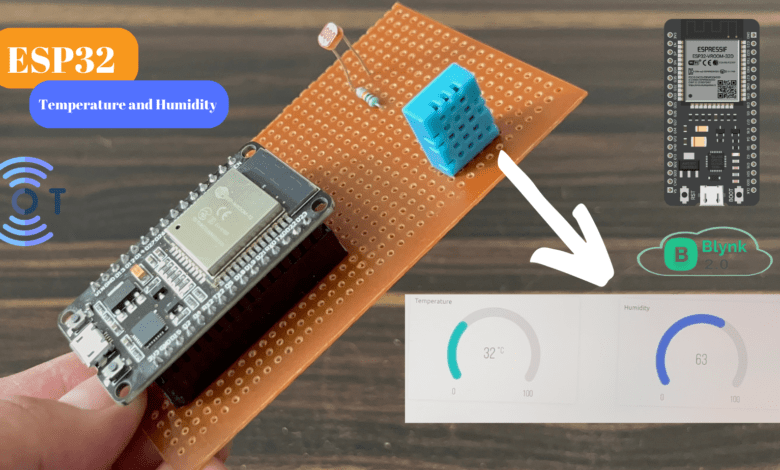
In this Tutorial, we discuss about DIY weather stations That Monitor temperature and humidity Values and view them on Your Device (laptop/Mobile) The system is Based on ESP32.
To Collect Temperature And Humidity Data of the surroundings and display them on the Blynk app.
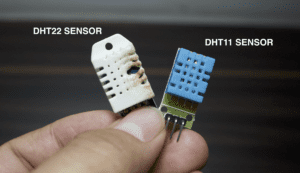
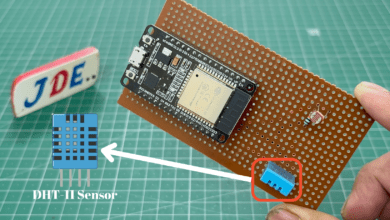
For this purpose, we used the DHT11 Sensor Module that measures those two parameters temperature and humidity.
If you don’t know how the DHT11 Sensor works Then Fist Check The Tutorial.
Bill Of Materials
S.N | Component | Quantity | Link To Buy |
1 | ESP32 Board | 1 | |
2 | DHT11 Sensor | 1 | |
3 | Zero Pcb | 1 | |
4 | Female Header | 1 |
Component’s
ESP32 Board
- The ESP32 Board Is Integrated with Wi-Fi And Dual-Core, Low Power Bluetooth, Low Power Consumption, and High performance.
- ESP32 Is a small board With many pins available To Connect to the input and output Devices.
- Compared to the Esp8266 Board, so many Analog pins are Available On the ESP32 Board and it Takes Low Power.
DHT11 Sensor
DHT11 is a Humidity and Temperature Sensor, which generates a calibrated digital output.DHT11 is a low-cost humidity and temperature sensor that provides high reliability and long-term stability.
Specifications
- Power Supply: 3.3-5V DC
- Output: 3 pins (Digital Form)
- Range: Humidity 20-90%RH,Temperature 0~50℃
- Accuracy: Humidity +-5%RH,Temperature +-2℃
- Resolution: Humidity 1%RH, Temperature 1℃
Here we design the proper Hardware with ESP32 Board And DHT11 Sensor.
Circuit Diagram
In this circuit diagram, we attach the DHT11 Sensor Pin Number D14 to the ESP32 Board.
Blynk App Setup
Go to the Blynk.io Website and first time login to the page you might need to create an account give your email and create the password you want.
If you already have an account you just sign in using the credentials. then you will have a page as shown in the figure below.
Give your new template name, and Specify the hardware and connectivity you will be using. For my projects, we are using the ESP32, and we Select the hardware as ESP32 Dev Board and the connectivity type as WiFi.
Set up The Datastream Like This:
- TempeatureVirtual Pin: V0
- Data Type: Double
- Units: Celsius
- Min/Max:0/100
Set up The Datastream Like This:
- Humidity Virtual Pin: V1
- Data Type: Double
- Units: %
- Min/Max:0/100
Now Go to your project in the Blynk app and it’s time to check your dashboard. Now just Copy the BLYNK_AUTH_TOKEN Number and paste it into an ESP32 Code.
Code
- Installing Blynk Library with a ZIP file or Manually Install Through.
- Library for dht. h
|
1 2 3 4 5 6 7 8 9 10 11 12 13 14 15 16 17 18 19 20 21 22 23 24 25 26 27 28 29 30 31 32 33 34 35 36 37 38 39 40 41 42 43 44 45 46 47 48 49 50 51 52 53 |
//Prateek //www.justdoelectronics.com #include <Wire.h> #include <WiFiClient.h> #include <BlynkSimpleEsp32.h> #include <DHT.h> #define DHT11_PIN 14 DHT dht11(DHT11_PIN, DHT11); BlynkTimer timer; char auth[] = "t7GpELfK9RNWe9a8fg9TYNiyymac9Mp"; char ssid[] = "justdoelectronics"; char pass[] = "ode"; void setup() { Serial.begin(9600); Blynk.begin(auth, ssid, pass, "blynk.cloud", 80); dht11.begin(); } void dht() { float humi = dht11.readHumidity(); float tempC = dht11.readTemperature(); float tempF = dht11.readTemperature(true); if (isnan(tempC) || isnan(tempF) || isnan(humi)) { Serial.println("Failed to read from DHT11 sensor!"); } else { Serial.print("Humidity: "); Serial.print(humi); Serial.print("%"); Blynk.virtualWrite(V1, humi); Serial.print(" | "); Serial.print("Temperature: "); Serial.print(tempC); Serial.print("°C ~ "); Serial.print(tempF); Serial.println("°F"); Blynk.virtualWrite(V0, tempC); } } void loop() { Blynk.run(); dht(); delay(200); } |
Project Explanation
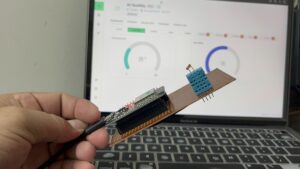
Now we Install the program Turn ON the system and wait for the wifi connectivity and the display temperature and humidity value in the Blynk App webserver.
Video
Interfacing DHT11 Sensor With Arduino :- Click Here


