Weight Scale With ESP8266 & Blynk App
Introduction
Hi, In this tutorial, we will make IOT Based weighting scale with HX711 Module, load cell & ESP8266 Board.
The load cell measures the weight up to 10kg. We will display the measured weight in the 16×2 LCD & Blynk Application. If you are capable to change coding then you also Display the reading in thing speak.
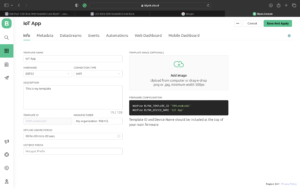
if you used the new Blynk App Then You required to change a Few Things
|
1 |
char auth[] = "OaAek11MGCAZQwBTyPNLsHhyrG8"; |
|
1 |
Blynk.begin(auth, ssid, pass, "blynk.cloud", 80); |
Overview
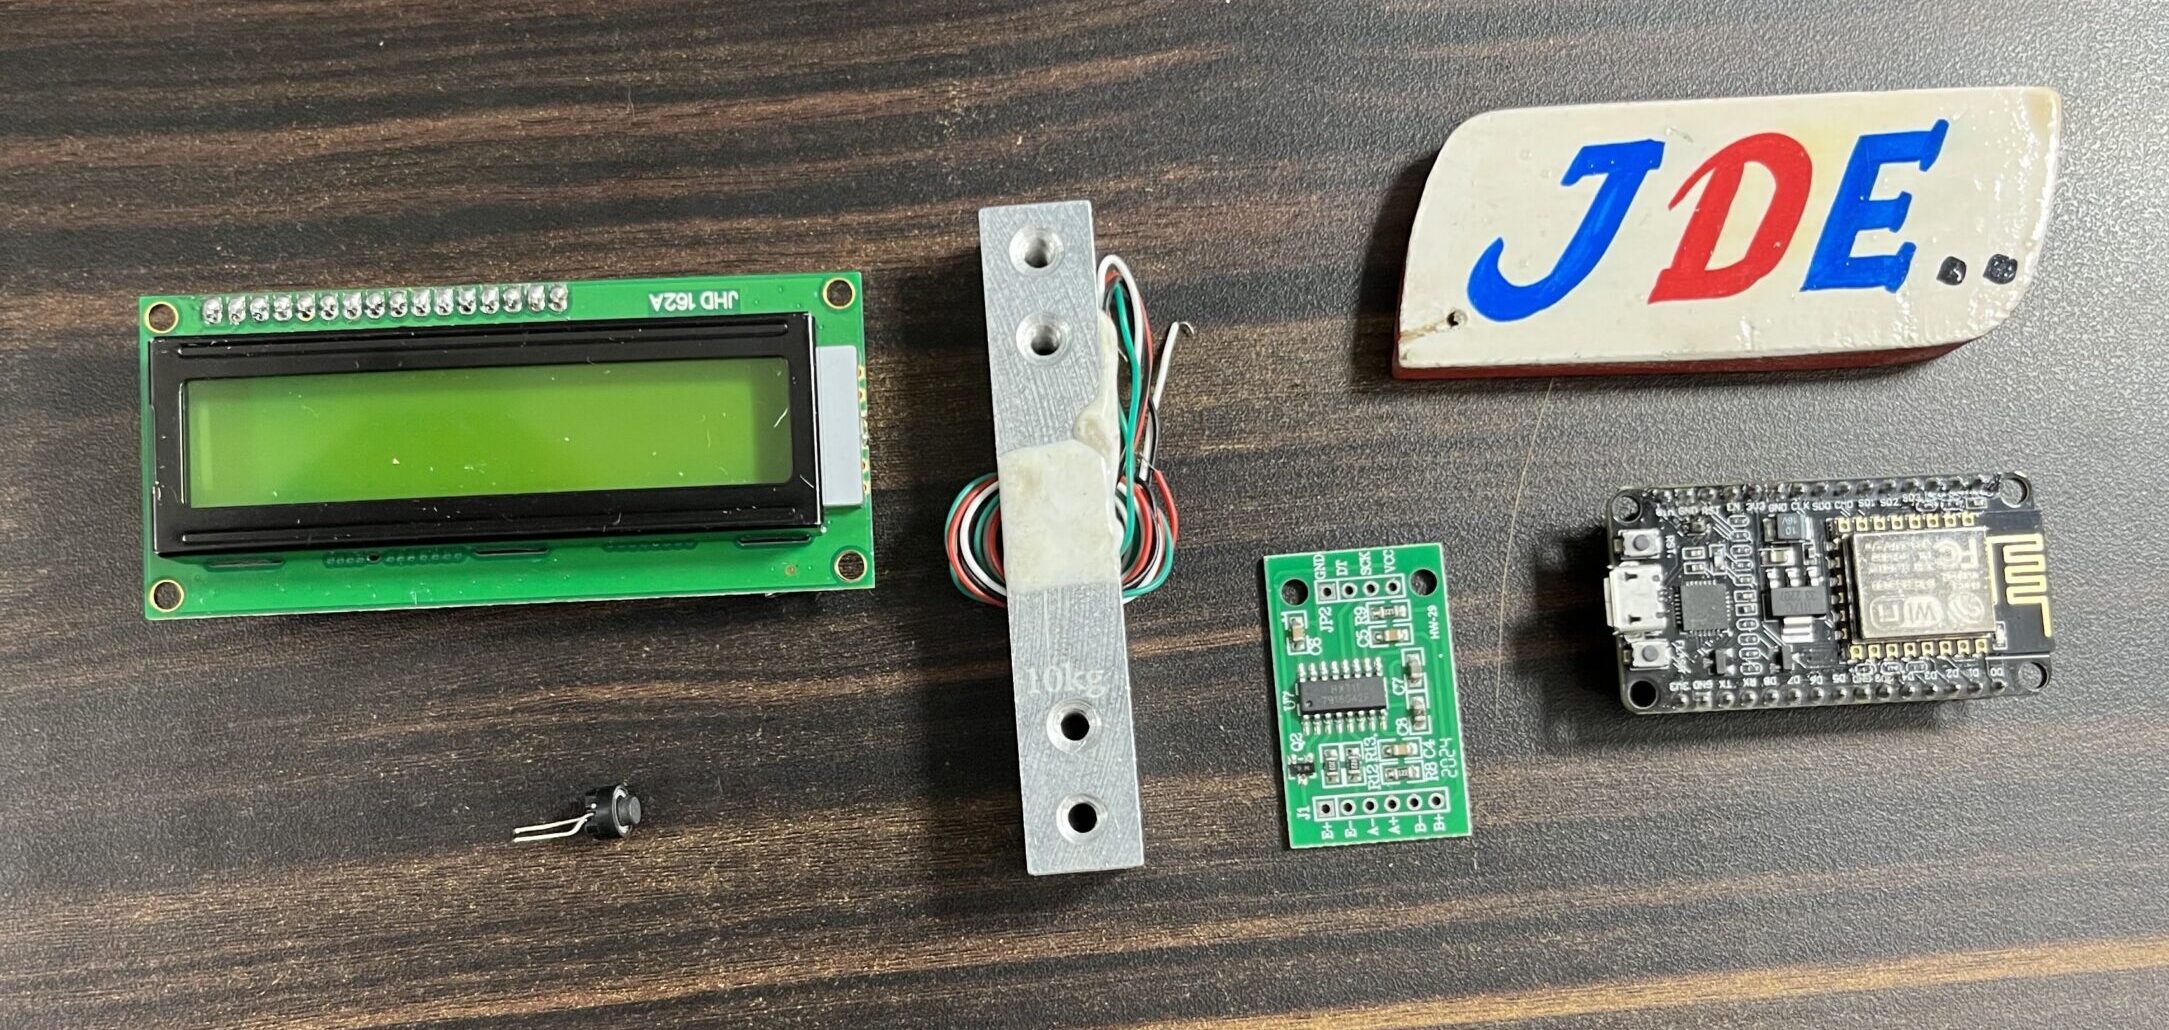
In this project, we interface a 10kg load cell to the ESP8266 microcontroller with an HX711 amplifier.
HX711 is prelission 24 bit anulog to Digital converter. They design for weighing scales and industrial control applications to interface directly with a bridge sensor.
The electronic weighting machine uses a load cell to measure the weight produced by the load. The measuring load with the help of a strain gauge sensor.
We will make a weight scale And measure weights up is 10kg. First, we need to calibrate the load cell and find the calibration factor. Once the calibration is done we put the value in an Arduino Code. Then will make the scale precise and Then Measure the value. Because if you do not find the calibration factor this generates a mass of error. So we first try to remove errors from the weight scale.
Bill Of Materials
S.N | Component | Quantity | Link To Buy |
1 | ESP8266 | 1 | |
2 | (I2C) 16x2 LCD Display | 1 | |
3 | Load Cell | 1 | |
4 | HX711 Module | 1 | |
5 | Push Button | 1 | |
6 | Zero PCB | 1 | |
7 | USB Cable | 1 |
ESP8266
ESP8266 or NodeMCU with cp2102 Wifi Board is Wifi based microcontroller that is very easy to use to create projects with WiFi and IoT (Internet of Things) applications. This WiFi development board already embeds in its board all the necessary components for the ESP8266 to program and uploaded code. It has an in-built USB to serial chip upload codes, a 3.3V regulator and a logic-level converter circuit so you can immediately upload codes and connect your circuits.
Specification of Node-MCU IoT Module:-
- It is based on ESP8266 and integrates GPIO, PWM, IIC, 1-Wire and ADC in one board.
- Power your development in the fastest way combinating with NodeMCU Firmware!
- USB-TTL included plug&play
- 10 GPIO, every GPIO can be PWM, I2C, 1-wire
Features of Node-MCU IoT Module:-
- Open-source IoT Platform
- Easily Programmable
- Low Cost & Simple to Implement
- WI-FI enabled
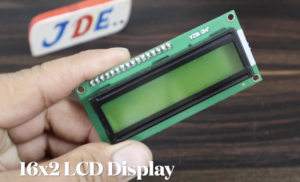
16×2 LCD Display
16×02 LCD type with 2 rows of 16 Columns. This model operates at 5V and has a green backlight with white-on-Green text. It features a standard HD44780 compatible controller to simplify integration into your project and includes a strip of male header that can be soldered to the board as needed.
Features:-
- 16 Characters x 2 Lines
- Green Backlight
- 5×7 Dot Matrix Character + Cursor
- HD44780 Equivalent LCD Controller/driver Built-In
- 4-bit or 8-bit MPU Interface
- Standard Type
- Works with almost any Microcontroller
Load Cell & HX711 Module
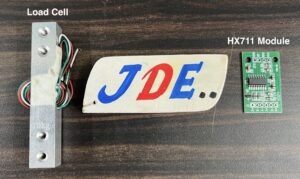
Load Cell
The load cell is a module for measuring the force. they are used in varial fields, industrial, weight machines & medical applications to measure the weight of an object, the force exerted by the fluid on a surface. a load cell is made of metal Saft by an inbuilt strain gauge. When force is applied to the beam, the strain gauge measuring the resulting distortion of the beam produces a signal that the proportional to the force.
Specifications
- Capacity – 10kg
- Accuracy – 0.03% Fs
- Output – 4 wires (Whcalshone bride)
- Method of connecting wire – Red(+), Black(-), Green(+), White(-)
- Zero output – 0.05% fs
HX711 Load Cell Amplifier
This deuce is used to measure the force exerted by an object. The module interfacing with the load cell and Arduino Nano microcontroller are easy to read reading & it is clearly reading the whetstone bridge formed by the load cell. Converting the analog reading to Digital form with an internal 24-bit A/D converter.
To communicates the Hx711 Amplifier circuit with Arduino Nano pin (clock & Date) in a serial way. (similar to I2C)
In 4 wire Arough we could to Hx711 module to load cells, Red, Black, White & Green.
- Red – Excitation Voltage(+), E+, VCC
- Black – Excitation Voltage (-), E-, GND
- Green – Amplifier (-), Signal (-), A(-)
- White – Amplifier (+), Signal (+), A(+)
Specifications
- Operating Voltage – 2.7V to 5V DC
- Operating voltage – 710 mA
- Refresh frequency – 10/90 HZ
- Data Accularly – 24-bit ( A/D converter chip)
Push Button
These are very small light duty SPST Single Pole Single push buttons that are NO Normally Open. Push buttons are only rated up to 50mA at 12V DC and are intended for low-voltage operations such as providing digital inputs to microcontrollers.
Zero PCB
This Is A High-Quality Single Sided Fr2 / Phenolic General Purpose PCB. It Is Used For Rapid Prototyping Design. The Size Is 100 mm*75 mm (10 cm X 7.5 cm). The Copper Layer Is Laminated For Easy Soldering And To Prevent Corrosion. It Is Ideal For College And Engineering Students. Widely Used For Electronic Projects.
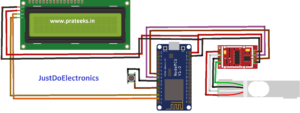
Circuit Diagram
PCB DESIGN
Blynk App Install
First, you have to set up a project in the Blynk app on your web dashboard And Smart Phone. after setting the app you receive an auth token which has to be provided in the code.
You can Download the Blynk app from Below the Links.
Open Blynk App, register with an email ID and then log in.
Installing the HX711 Library
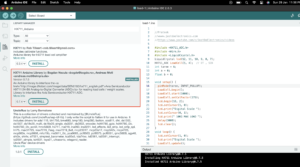
There are many sources to get measurements from a load cell using the HX711 amplifier. We’ll use the HX711 library. It is compatible with Arduino, ESP32, and ESP8266.
The following instructions are to install the library in Arduino IDE.
- Open Arduino IDE and go to Sketch > Include Library > Manage Libraries.
- Search for “HX711 Arduino Library” and install the library by Bogdan Necula.
Installing the I2C Library
Source Code
|
1 2 3 4 5 6 7 8 9 10 11 12 13 14 15 16 17 18 19 20 21 22 23 24 25 26 27 28 29 30 31 32 33 34 35 36 37 38 39 40 41 42 43 44 45 46 47 48 49 50 51 52 53 54 55 56 57 58 59 60 61 62 63 64 65 66 67 68 69 70 71 72 73 74 75 76 77 78 79 80 |
//Prateek //www.justdoelectronics.com #include <ESP8266WiFi.h> #include "HX711.h" #define BLYNK_PRINT Serial #include <Blynk.h> #include <BlynkSimpleEsp8266.h> #include <Wire.h> #include <LiquidCrystal_I2C.h> LiquidCrystal_I2C lcd(0x27, 16, 2); #define BLYNK_PRINT Serial const char *ssid = "JustDo"; const char *pass = "par12345"; char auth[] = "jf5vqqdqSziGVbsdgncbvP5CffTAgqiz"; WiFiClient client; HX711 scale(D5, D6); int rbutton = D4; float weight; float calibration_factor = -107325; void setup() { Serial.begin(9600); Wire.begin(D1, D2); lcd.begin(); lcd.backlight(); lcd.setCursor(3, 0); lcd.print("Welcome To"); lcd.setCursor(0, 1); lcd.print("JustDoElectronic"); delay(3000); lcd.clear(); lcd.setCursor(6, 0); lcd.print("IoT"); lcd.setCursor(1, 1); lcd.print("Weight Scale"); delay(3000); lcd.clear(); Serial.begin(115200); pinMode(rbutton, INPUT_PULLUP); scale.set_scale(); scale.tare(); long zero_factor = scale.read_average(); Blynk.begin(auth, ssid, pass, "blynk.cloud", 80); lcd.print("Connecting Wifi"); WiFi.begin(ssid, pass); { delay(1000); Serial.print("."); lcd.clear(); } Serial.println(""); Serial.println("WiFi connected"); lcd.clear(); lcd.print("WiFi connected"); delay(2000); } void loop() { Blynk.run(); scale.set_scale(calibration_factor); weight = scale.get_units(5); lcd.setCursor(0, 0); lcd.print("Measured Weight"); lcd.setCursor(0, 1); lcd.print(weight); lcd.print(" KG "); Blynk.virtualWrite(V3, weight); delay(2000); lcd.clear(); Serial.print("Weight: "); Serial.print(weight); Serial.println(" KG"); Serial.println(); if (digitalRead(rbutton) == LOW) { scale.set_scale(); scale.tare(); } } |
Demo of Project
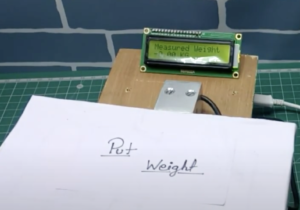
- Now we will test the project I will put My Mobile phone in the load sensor and the LCD, Blynk App Will Display The Weight Of the Mobile.
- And When I remove the mobile the load cell automatically displays the 0 Weight, that’s I will try to show in the image.
- Now this time I put the mouse in the load cell and measured the weight and display it this time the mouse’s Weight is 0.15gm.
If You are Interested In More Project Then Plz Check Few More Project


