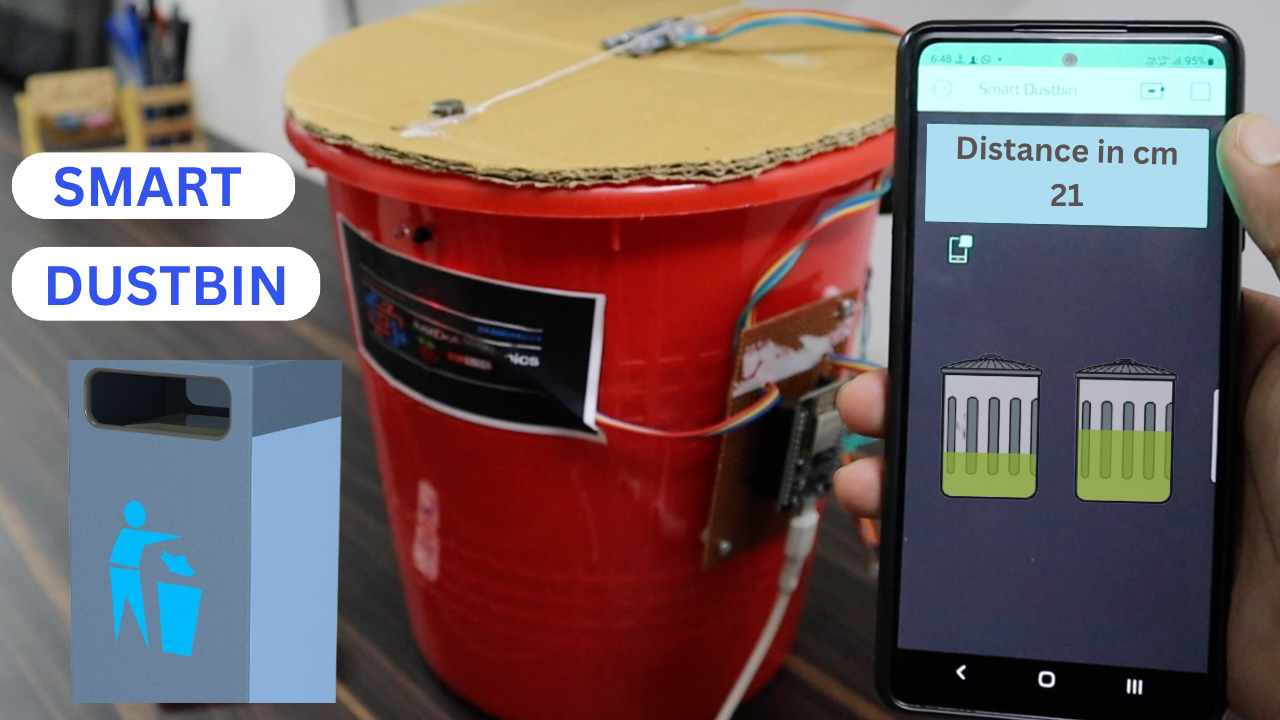
Smart Dustbin With New Blynk App Using ESP8266
making your smart dustbin using esp8266
Introduction
In this tutorial, we will make a smart Dustbin using the help of an HC-SR04 (ultrasonic) sensor, IR Sensor with ESP8266 Microcontroller Based.
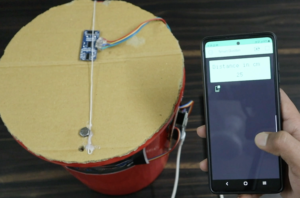
In this system, you monitor the Bin Level. In the Remote area and we Place the ultrasonic sensor on top of the Bin. The ultrasonic sensor is installed to measure the Height of the garbage volume in the bin. The garbage height detection system is connected to the Blynk application on the smartphone.
Once the garbage is full the alert notification comes to the Blynk app. We used the IR sensor to open and close the Bin Door with the help of an SG90(Servo Monitor)
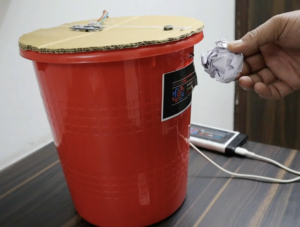
if you have any type of garbage you just put your hand in the near of Dustbin the door will be automatic will be open.
Bill Of Material
Here we used a few components we will provide the buy link if you want the component then you buy it Directly.
S.N | Component | Quanitity | Link To Buy |
1 | Esp82666 | 1 | |
2 | Ultersonic Sensor | 1 | |
3 | IR Sensor | 1 | |
4 | Servo Motor | 1 | |
5 | Buzzer | 1 |
ESP8266
NodeMCU is an IoT Module based on ESP8266 wifi Module. NodeMCU Microcontroller is an open-source And is Supported by the Internet of Things (IoT) platform. This module has CH340g USB to TTL IC.
Specification of Node-MCU IoT Module:-
- It is based on ESP8266 and integrates GPIO, PWM, IIC, 1-Wire and ADC all in one board.
- In Bult Power Supply To Development Board
- USB-TTL included plug&play
- 10 GPIO, every GPIO can be PWM, I2C, 1-wire
Ultrasonic Sensor
Ultrasonic Distance Sensor provides very short 2CM to long-range 4M detection and ranging. The sensor provides precise and stable non-contact distance measurements from about 2cm to 4 meters with very high accuracy.
This ultrasonic sensor module can be used for measuring distance, object sensors, motion sensors etc. High-sensitive modules can be used with microcontrollers.
The module sends eight 40Khz square wave pulses and automatically detects whether it receives the returning signal. If there is a signal returning, a high-level pulse is sent on the echo pin. The length of this pulse is the time it took the signal from first triggering to the return echo.
Features:
- Output: Digital Sensor
- Voltage: 5VDC
- Detection distance: 2cm-400cm
- Static current: < 2mA
IR Sensor
IR Sensor module has great adaptive capability the ambient light, having a pair of an infrared transmitter and a receiver tube, the infrared emitting tube emits a certain frequency, encounters an obstacle detection direction with an effective distance range of 2 ~ 10cm And works voltage of 3.3V-5V. the sensor can be adjusted by the potentiometer.
Features:-
- The sensor module output port OUT can be directly connected with the microcontroller IO port and can also be driven directly to a 5V relay; Connection: VCC-VCC; GND-GND; OUT-IO.
- The comparator using LM393 is stable.
- A 3-5V DC power supply module can be used.
- Each module in the delivery has threshold comparator voltage adjustable via potentiometer.
Buzzer
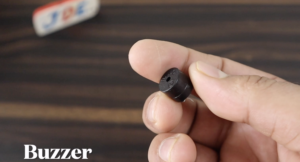
The active Buzzer Alarm Module for Arduino is an audio signalling device, which may be mechanical, electromechanical, or piezoelectric. Just like what you are viewing now, it is 3.3V-5V DC Electronic Part Active Buzzer Module.
ZERO PCB
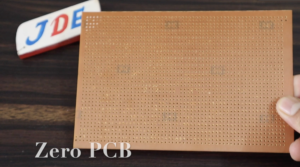
This Is A High-Quality Single Sided Fr2 / Phenolic General Purpose PCB. It Is Used For Rapid Prototyping Design. The Size Is 100 mm*75 mm (10 cm X 7.5 cm). The Copper Layer Is Laminated For Easy Soldering And To Prevent Corrosion. It Is Ideal For Hobbyists, School / College And Engineering Students. Widely Used For Electronic Projects.
Circuit Diagram
The Image will show the circuit diagram now I will explain where I Connected all sensors to ESP8266 Microcontroller.
- first, the HC-SR04 ultrasonic sensor will be connected to the Pin Numbers of D1 and D2 PINs. D1 well connected to the Trigger pin and D2 will connect to the Echo Pin.
- We used the IR sensor and they were well connected to the Pin Number D3 of NodeMCU.
- The servo motor will be connected to PIN D5
- And the buzzer will be connected to PIN D4
The ultrasonic sensor is used to measure the dustbin level of Bin and the IR Sensor defects the object Near the IR Sensor the servo motor rotates 90° and if not object the servo motor at 0°.
PCB Design
We now design a proper PCB for the project. I arrange all the components and then I make the connection. we used EasyEda Software to Design the proper PCB.
Source Code
Now we used the ArduinoIDE software to edit the code. And first, we select the proper board and set the port and then you upload the code in the NodeMCU Microcontroller
ESP8266 Interfacing With Servo Motor
|
1 2 3 4 5 6 7 8 9 10 11 12 13 14 15 16 17 18 |
#include <Servo.h> Servo s1; void setup() { s1.attach(0); } void loop() { s1.write(0); delay(1000); s1.write(90); delay(1000); s1.write(180); delay(1000); } |
ESP8266 Interfacing With IR Sensor
|
1 2 3 4 5 6 7 8 9 10 11 12 13 14 15 16 17 18 19 20 21 22 |
int val = 0 ; void setup() { Serial.begin(9600); pinMode(14,HIGH); } void loop() { val = digitalRead(5); Serial.println(val); delay(100); if(val == 1 ) { digitalWrite(14,HIGH); } else { digitalWrite(14,LOW); } } |
ESP8266 Interfacing With Ultrasonic Sensor
|
1 2 3 4 5 6 7 8 9 10 11 12 13 14 15 16 17 18 19 20 21 22 23 |
#define trig D1 #define echo D2 long duration; int distance; void setup() { pinMode(trig, OUTPUT); pinMode(echo, INPUT); Serial.begin(9600); } void loop() { digitalWrite(trig, LOW); delayMicroseconds(2); digitalWrite(trig, HIGH); delayMicroseconds(10); digitalWrite(trig, LOW); duration = pulseIn(echo, HIGH); distance = duration * 0.034 / 2; Serial.print("Distance = "); Serial.println(distance); delay(1000); } |
Before You Upload The Code Just Upload a Few liberties And Then Upload The Code.
|
1 2 3 4 5 6 7 8 9 10 11 12 13 14 15 16 17 18 19 20 21 22 23 24 25 26 27 28 29 30 31 32 33 34 35 36 37 38 39 40 41 42 43 44 45 46 47 48 |
#define BLYNK_PRINT Serial #include <ESP8266WiFi.h> #include <BlynkSimpleEsp8266.h> #define trig D1 #define echo D2 long duration; int distance; char auth[] = ".............................."; char ssid[] = "justdoelectronics"; char pass[] = "123456789"; BlynkTimer timer; WidgetLCD lcd(V1); void setup() { pinMode(trig, OUTPUT); pinMode(echo, INPUT); Serial.begin(9600); Blynk.begin(auth, ssid, pass, "blynk.cloud", 80); timer.setInterval(1000L, sendSensor); } void loop() { Blynk.run(); timer.run(); } void sendSensor() { digitalWrite(trig, LOW); delayMicroseconds(2); digitalWrite(trig, HIGH); delayMicroseconds(10); digitalWrite(trig, LOW); duration = pulseIn(echo, HIGH); distance = duration * 0.034 / 2; Serial.print("Distance = "); Serial.println(distance); Blynk.virtualWrite(V0, distance); lcd.print(0, 0, "Level Of Dustbin"); lcd.print(0, 1, "Distance: " + String(distance) + "cm "); delay(1000); } |
Blynk App Install
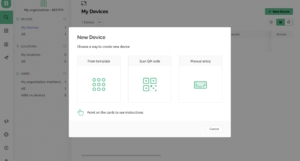
First, you have to set up a project in the Blynk app on your web dashboard And Smart Phone. after setting the app you receive an auth token which has to be provided in the code.
You can Download the Blynk app from Below the Links.
Open Blynk App, register with an email ID and then log in.
- after login in, we will create a project. Enter the all details as shown Below
Project Demo
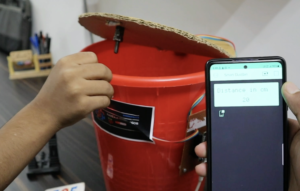
- if have garbage then you just put it near it sensor the garbage automatically opens and you put the garbage in a Dustbin.
- You just check the Blynk app for the real-time garbage level shown on the Mobile.
- If the garbage is full the Blynk app gives the notification.
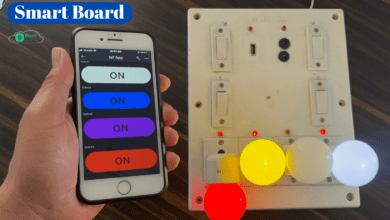
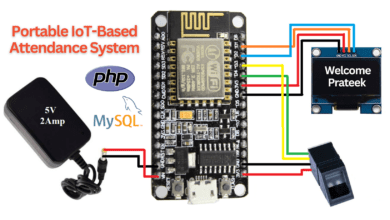
Just Check Out Blynk App-Related Project







hi sir, this is a good project but I can’t find the source code in your GitHub. can you help me with this issue?