DHT22 Sensor With Nodemcu and Blynk
Introduction
In this project, we will build a Weather Monitoring System Using The DHT22 Sensor ESP8266 and New Blynk App. We will use the Arduino IDE Software for Programming. it’s a great way to build your own small weathering system.
In this project, I published the DHT22 Sensor Data to the new Blynk app platform. you just see the reading anywhere in the world, I will explain all Process how you make your own wireless weathering System.
Bill Of Materials
S.N | Component | Quantity | Link To Buy |
1 | ESP8266 | 1 | |
2 | DHT22 Sensor | 1 | |
3 | I2C Module | 1 | |
4 | 16x2 LCD Display | 1 | |
5 | 10k Pot | 1 | |
6 | Zero PCB | 1 |
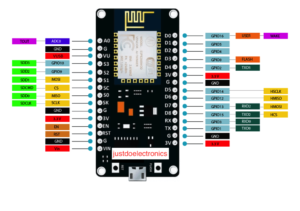
ESP8266
- ESP8266 Based On, integrates GPIO, PWM, IIC, 1-Wire and ADC all in one board.
- ESP8266 Power your development in the fastest way in combination with NodeMCU Firmware!
- USB-TTL included plug&play 10 GPIO, every GPIO can be PWM, I2C, 1-wire
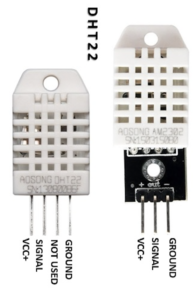
DHT22 Sensor
DHT22 Sensor Measuring the temperature And Humidity. the accuracy is relay good for comparison To the DHT11 Sensor and the operating voltage Is 3.3v to 5v.
- Supply voltage: 5V
- Temperature range:-40-80℃ resolution0.1℃ error <±0.5℃
- Humidity range:0-100%RH resolution0.1%RH error±2%RH
- The sequence of the line: VCC, GND, S
- Size: 38 x 20mm
16×2 LCD Display

This one the liquid crystal display is 2 Row And 16 cloum And the Operting Voltage Is 5v Dc.
is Also suported the 4 Wire conection i mean I2C Through
- SDA – Serial Data
- SCL – Serial Clock
- VCC – 5v
- GND – Ground
Circuit Diagram
PCB Design
Blynk App Setup
Now, Let’s Set up the blink web dashboard. for that, follow all steps
just go to google and type Blynk App and go to the Website Blynk Web
First, go to the Blynk website and create a new account using the Gmail Address. and then log in to your account and create a new template for this project.
After Signing up just log in to the blink web page and create your own Dashboard.
I Have Created it as a “Wifi Truck” And Next Select the hardware type ESP8266
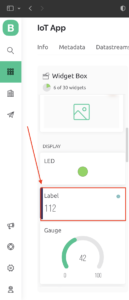
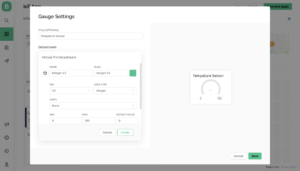
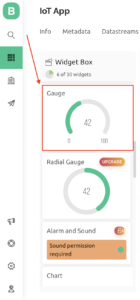
Now You just created the Gauge and label
Source Code
Before Uploading The Code You Just Change these things
|
1 2 3 |
char auth[] = "5Zc-1v_92ewPUc5xUIMxuTHAvppK4CRe"; char ssid[] = "prateek"; char pass[] = "@12345"; |
After changing the Auth, SSID and password then you Upload the code to NodeMCU Controller
|
1 2 3 4 5 6 7 8 9 10 11 12 13 14 15 16 17 18 19 20 21 22 23 24 25 26 27 28 29 30 31 32 33 34 35 36 37 38 39 40 41 42 43 44 45 46 47 48 49 50 51 52 53 54 55 56 57 58 59 60 61 62 |
//www.justdoelectronics.com //https://www.youtube.com/@JustDoElectronics #include <LiquidCrystal_I2C.h> #define BLYNK_PRINT Serial #include <ESP8266WiFi.h> #include <BlynkSimpleEsp8266.h> #include <DHT.h> LiquidCrystal_I2C lcd(0x27, 16, 2); char auth[] = "5Zc-1v_92ewPUc5xUIMxuTpK4CRe"; char ssid[] = "prateek"; char pass[] = "@12345"; DHT dht(D3, DHT22); BlynkTimer timer; #define Buzzer D0 void setup() { Serial.begin(9600); lcd.begin(); lcd.backlight(); pinMode(Buzzer, OUTPUT); Blynk.begin(auth, ssid, pass, "blynk.cloud", 80); dht.begin(); lcd.setCursor(0, 0); lcd.print(". Tempature "); lcd.setCursor(4, 1); lcd.print("Monitring System"); delay(4000); lcd.clear(); timer.setInterval(100L, DHT11sensor); } void DHT11sensor() { float h = dht.readHumidity(); float t = dht.readTemperature(); if (isnan(h) || isnan(t)) { Serial.println("Failed to read from DHT sensor!"); return; } Blynk.virtualWrite(V3, t); Blynk.virtualWrite(V4, h); lcd.setCursor(0, 0); lcd.print("Temperature:"); lcd.print(t); lcd.setCursor(0, 1); lcd.print("Humidity:"); lcd.print(h); } void loop() { Blynk.run(); timer.run(); } |
Demo Of Projects
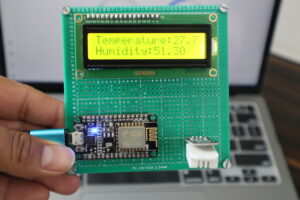
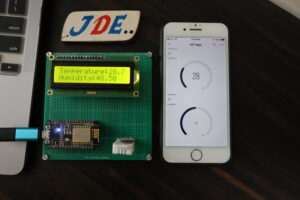
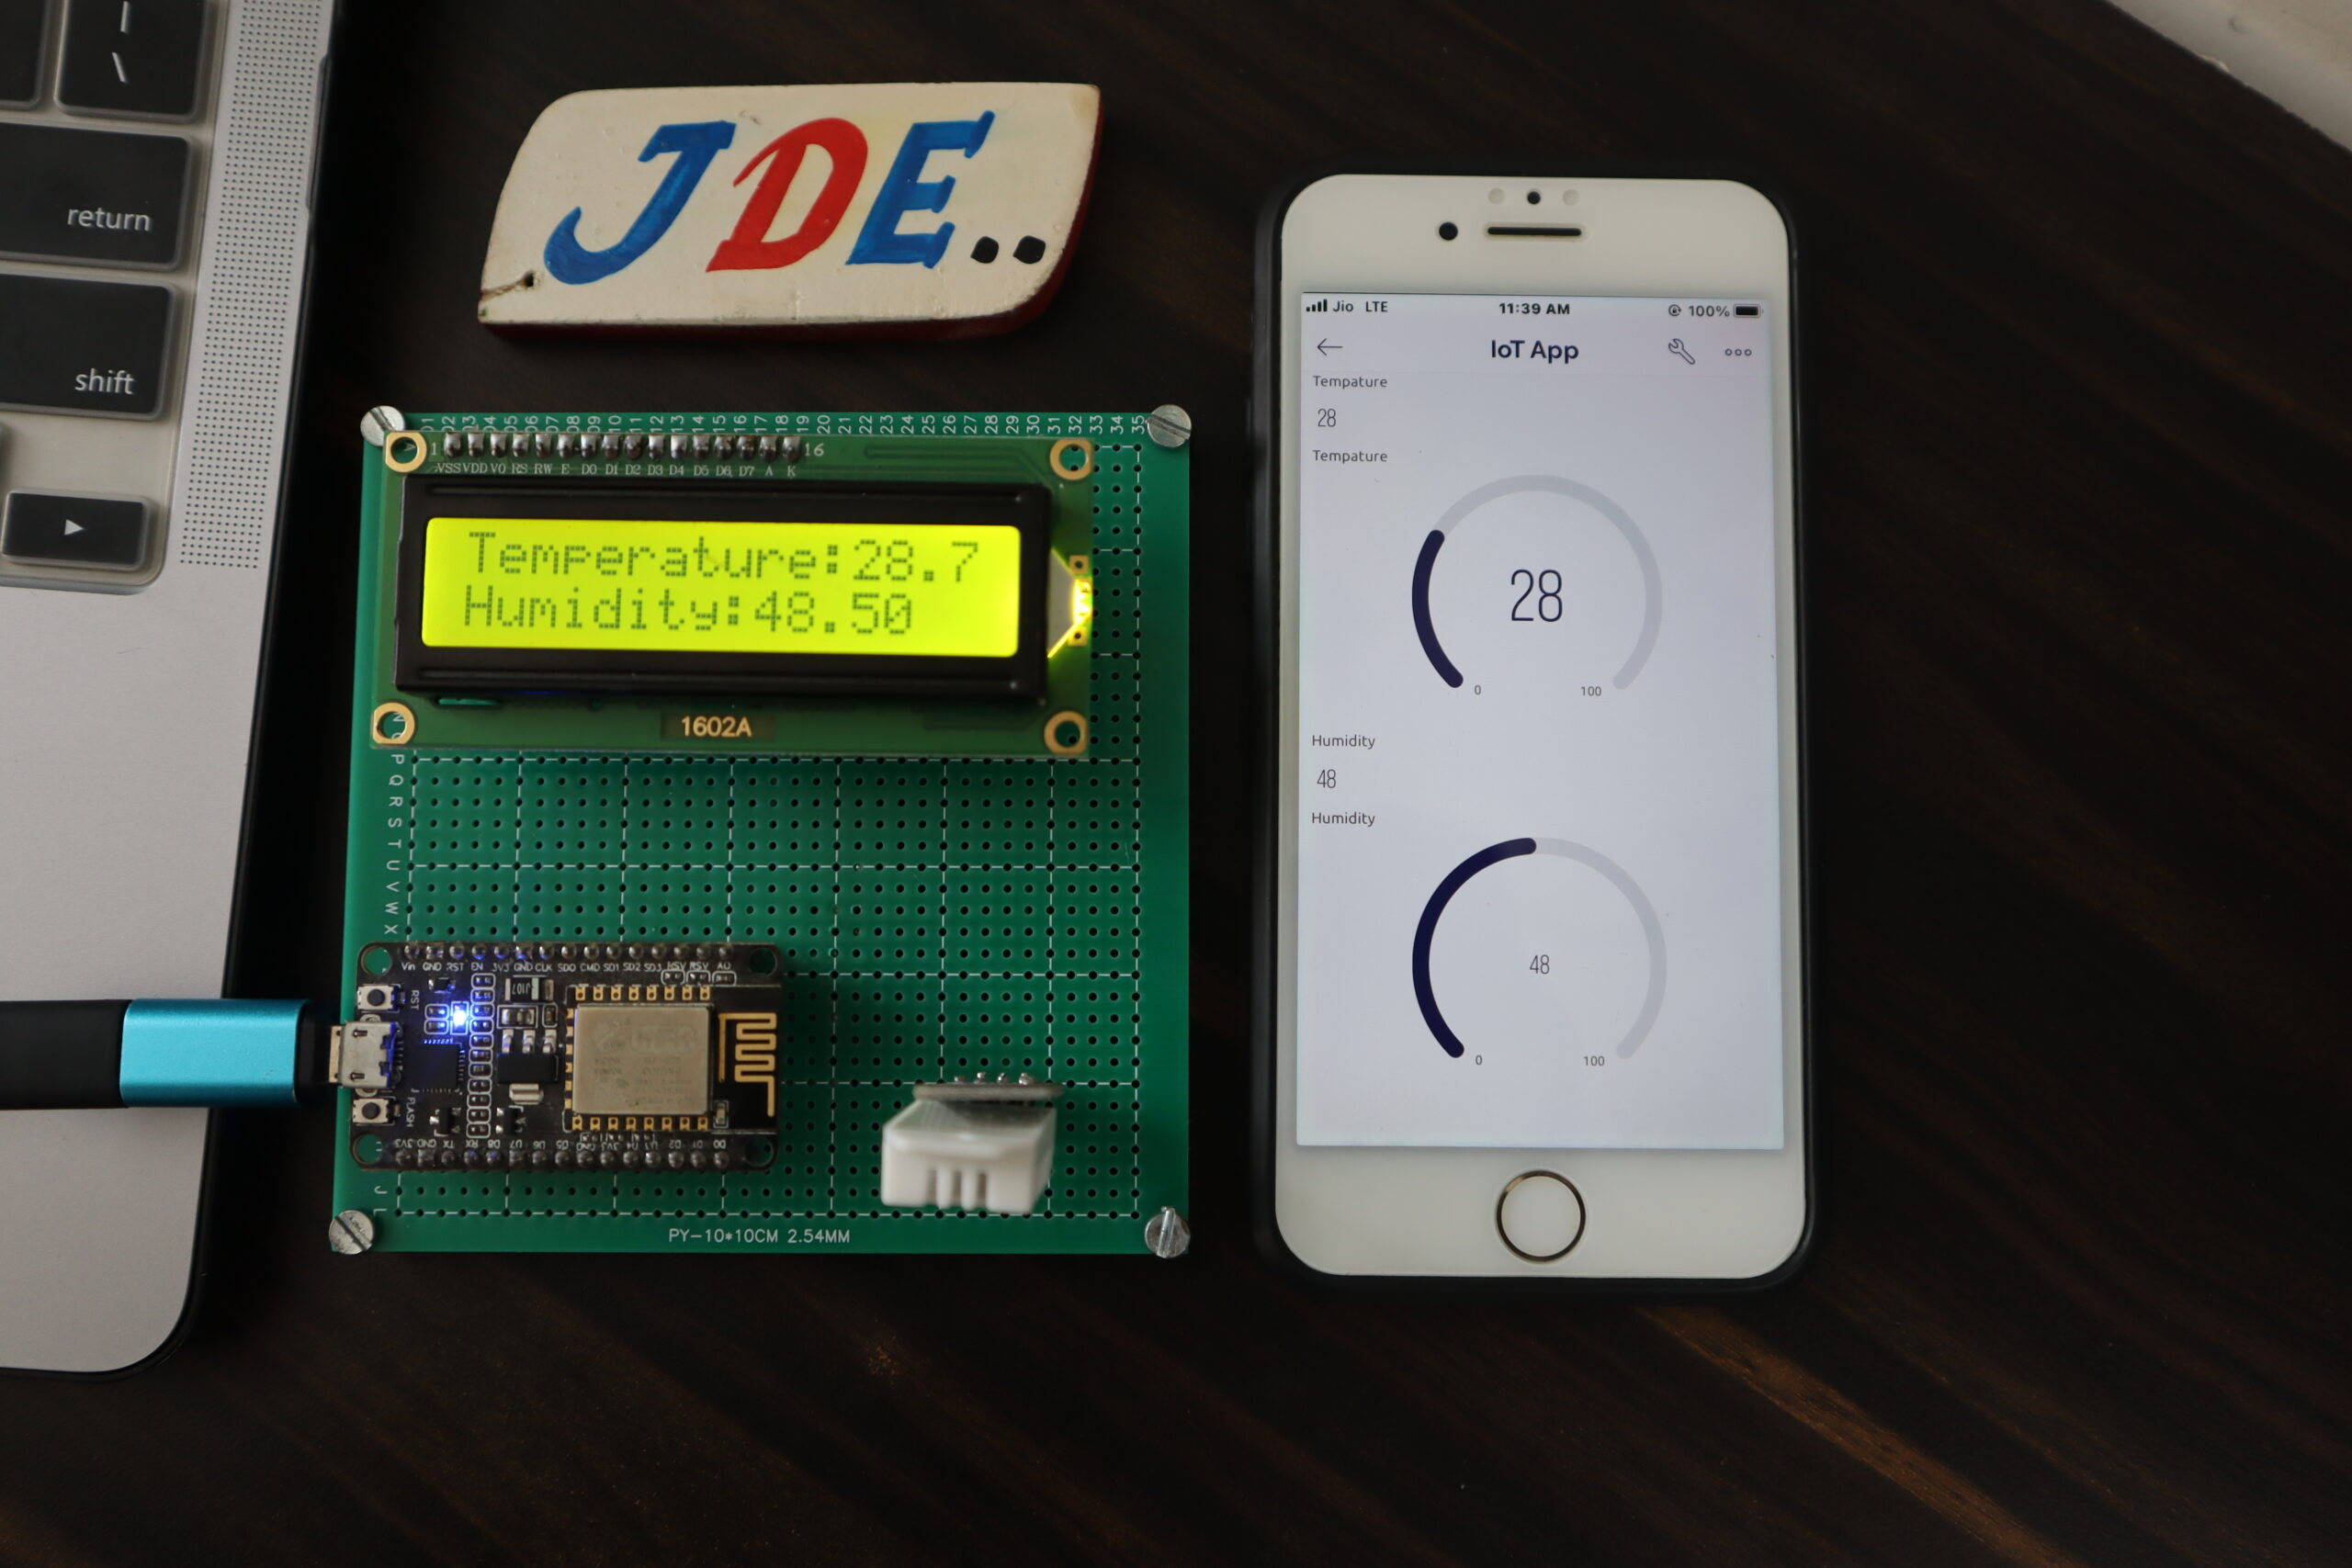
I will upload the code and After a Few seconds wifi is connected and you salo see in the 16×2 LCD Display is showing the Temperature And Humidity
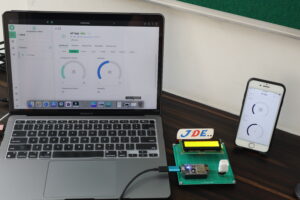
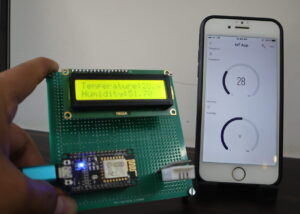
The Same Data will display in LCD And Mobile applications, Here I just used two gauges first will show the Temapture And the Second will show the Humidity.
The same data will display on Blynk App Webpage like Temapture And Humidity
Video tutorial
If You Interested to see more Blog about Related The ESP8266
